Canaan Avalon Q - User Guide
Feb 10, 2026
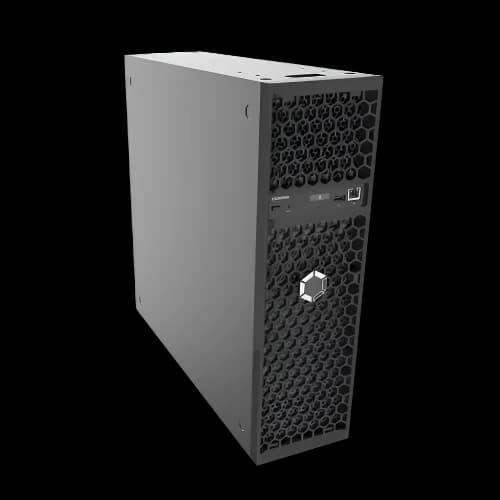
Setup guide for the Canaan Avalon Q miner
Official guide from Bitminers.bg
1. Prerequisites
Before you begin, make sure that:
- The Canaan Avalon Q miner is connected to power
- The miner is connected to the internet via a LAN cable
- Your phone or computer is connected to the same network
⚠️ Important: the miner's IP address changes when it connects to a new network.
2. Finding the miner's IP address
Method: via a mobile app
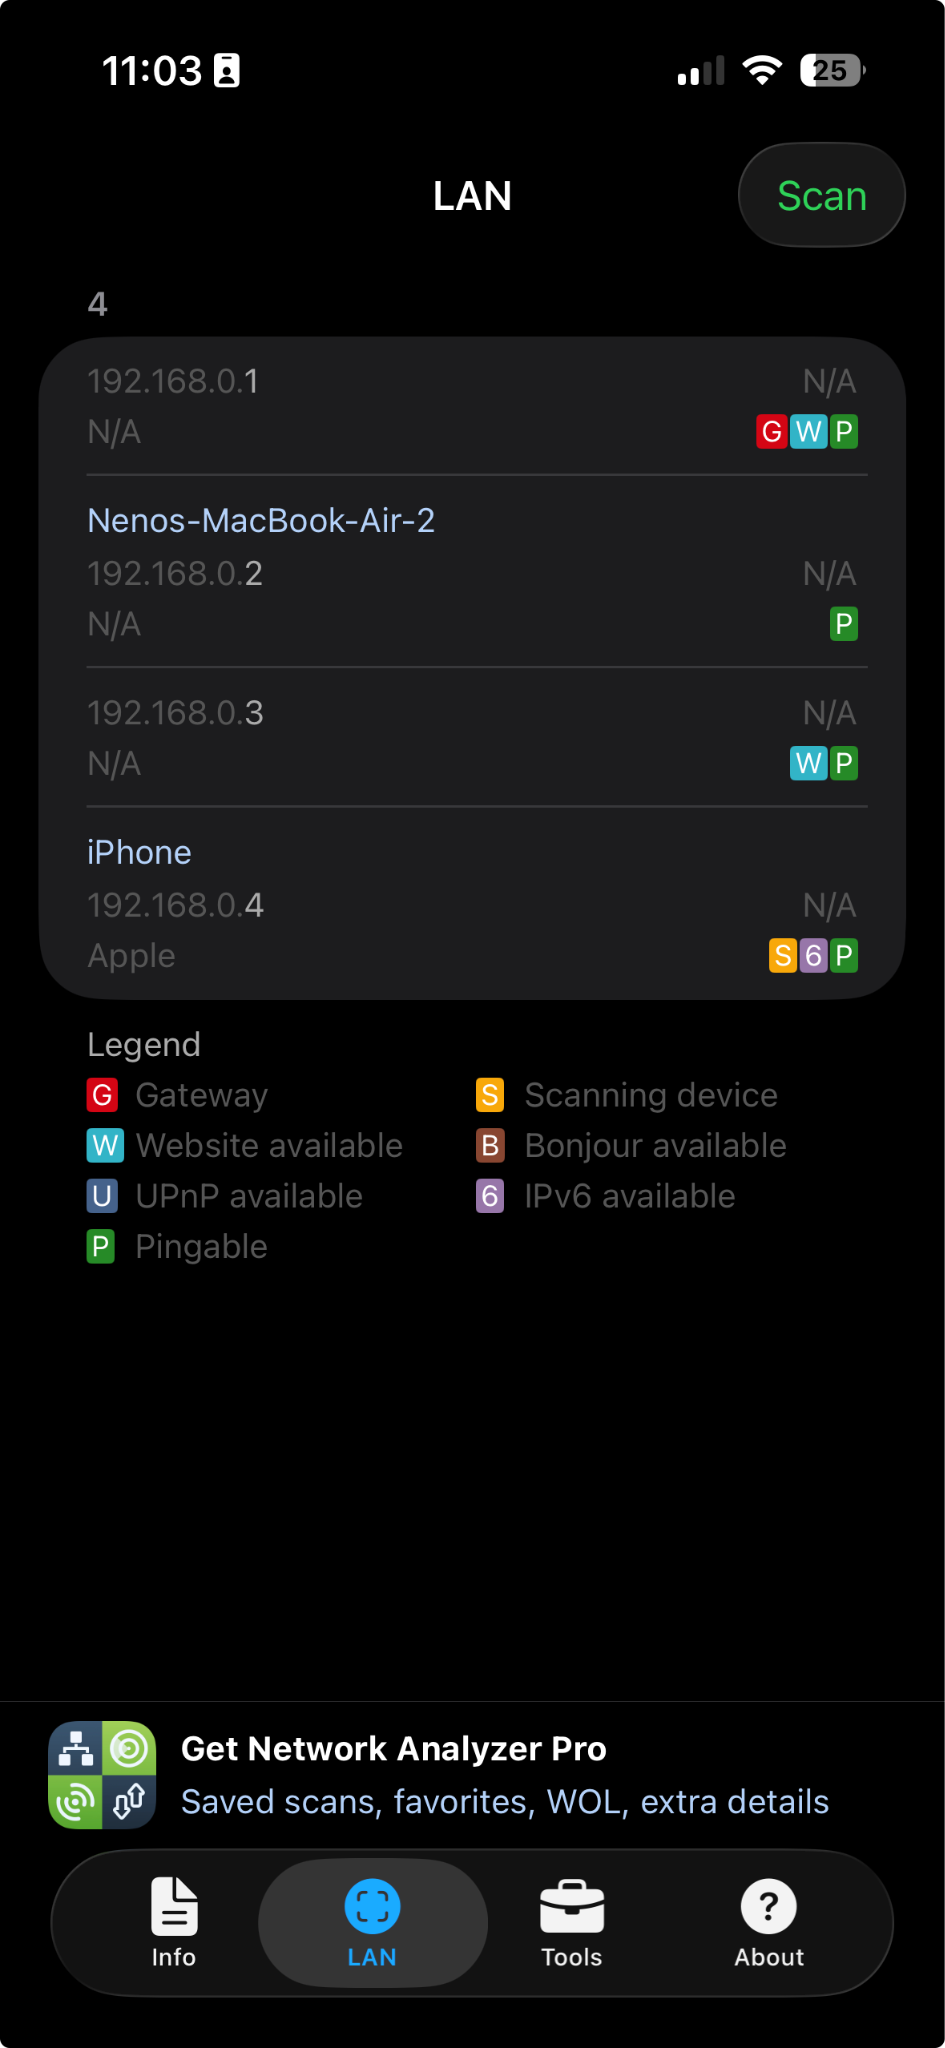
We recommend using the Network Analyzer app.
- iPhone: Network Analyzer (Net Tools)
- Android: Network Analyzer Lite
Steps:
- Open the app
- Select LAN
- Tap Scan to list every device on the network
- The miner usually appears without a name
- If there are several unnamed devices – check them one by one until you find the Avalon Q
3. Logging in to the miner's web interface
- Open a web browser (Chrome, Safari, etc.)
- Enter the miner's IP address in the address bar
- The AvalonMiner control panel will load
Login details:
- Username: root
- Password: root
4. Setting up the mining pool
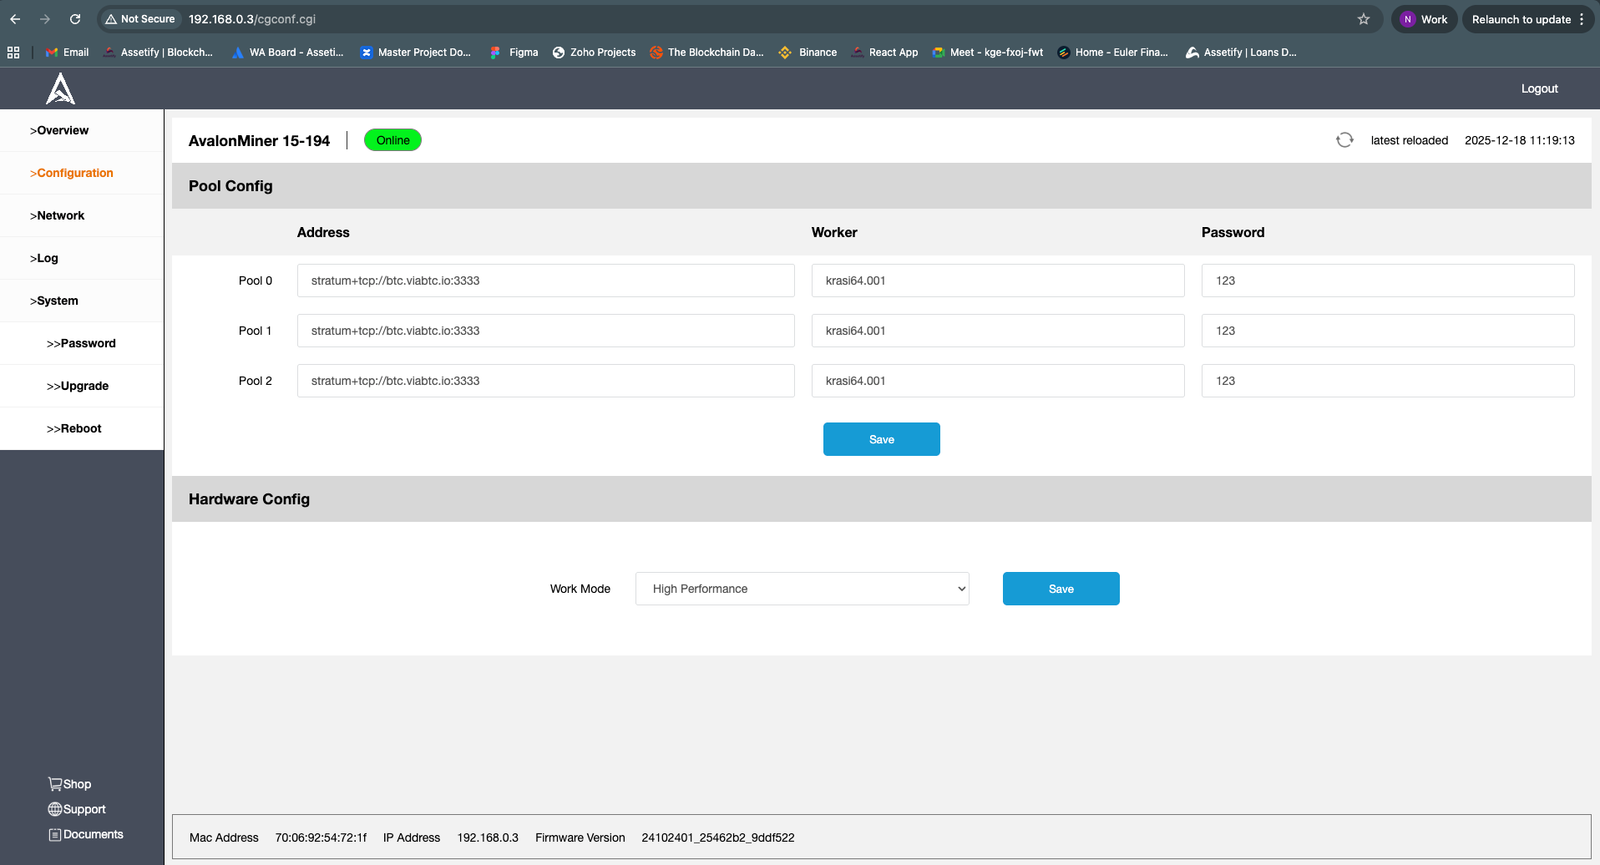
- From the left-hand menu select Configuration
- In the Pool Config section enter:
- Pool Address – the address of your chosen mining pool
- Worker / Username – the username from your pool registration
- Password – optional (“x” or “123” are commonly used)
- If needed, you can add backup pool addresses (Pool 2 and Pool 3)
- Click Save
5. Operating mode
In the Hardware Config section:
- Select the Work Mode you want (e.g. High Performance)
- Confirm the settings
6. Checking that it works
After a few minutes:
- Check that the miner shows Online / Mining status
- Log in to your mining pool account and confirm that the device is submitting hashrate
Useful tips from Bitminers.bg
- Provide good ventilation and cooling
- Use a stable power supply
- Do not change advanced settings unless you are sure