Goldshell- BOX Series Guide
Jan 24, 2026
Product introduction
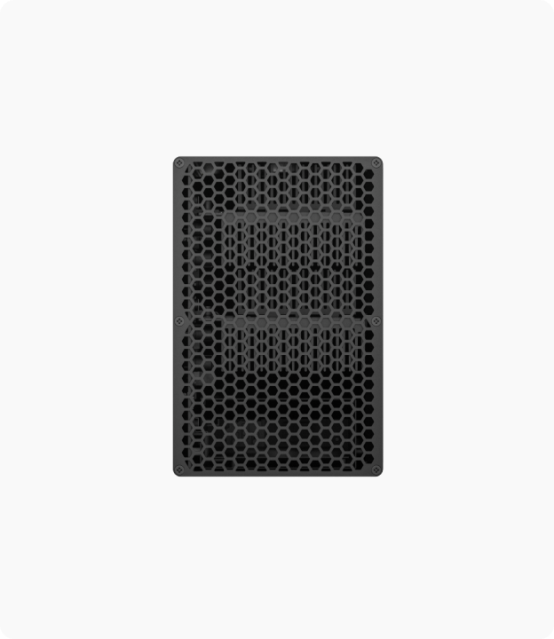
This guide applies to all models in the BOX II & III series, including: KA BOX, AL BOX, KA BOX PRO, AE BOX and AE BOX PRO.
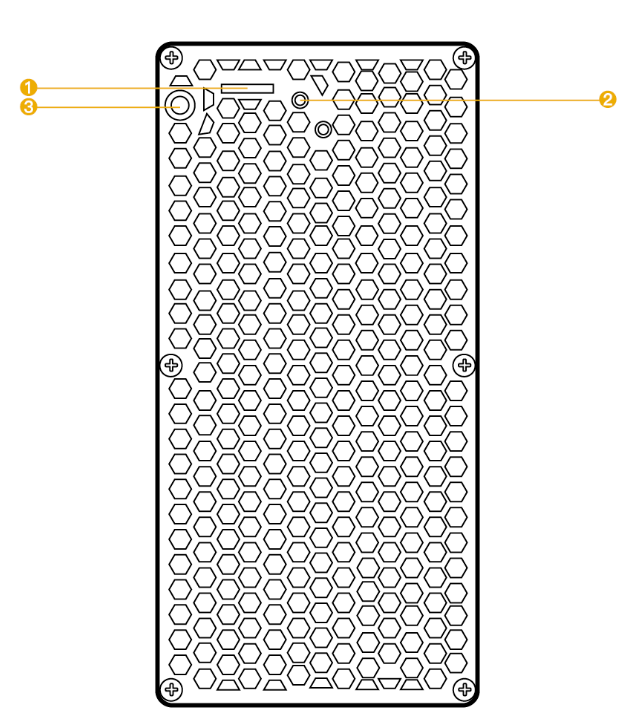
2. Checking the device
Before you use the miner:
- Check whether the box or the device is deformed or damaged.
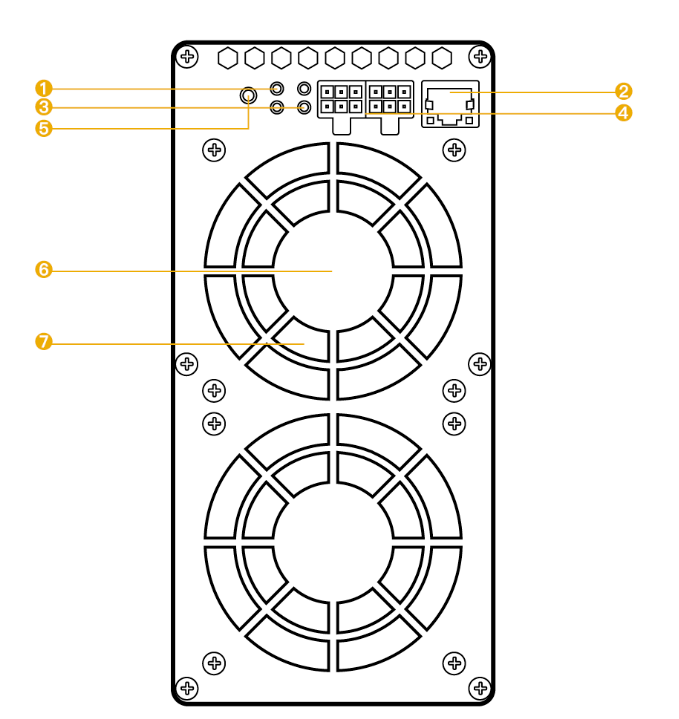
- Make sure the fan is intact and there are no unusual noises.
- If you find any problems, take photos and contact support (by submitting a request).
- Important: Do not disassemble the device yourself, as this may void the warranty.
3. Preparation
- Goldshell BOX miners require a power supply (PSU) and an Ethernet cable.
- If your model supports Wi-Fi, the Ethernet cable is optional.
- We recommend using the official Goldshell power supply.
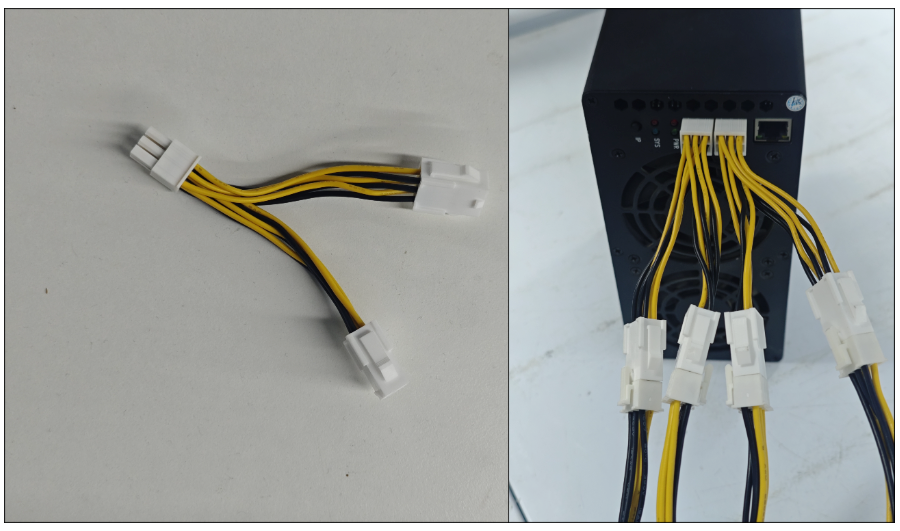
- If you use another PSU, use the supplied 2-in-1 cable for safety.
- PSU requirements:
- Wire: 16AWG (thinner cables can overheat).
- Power: the PSU must cover the device’s consumption (80% of rated power ≥ consumption).
- Output: independent 2x3 PIN 12V connectors.
Safety precautions
Before switching on:
- Check the device for damage and loose parts.
- Make sure every cable is firmly secured.
- Keep it away from water and high humidity.
- Operating temperature: 10–35°C, humidity below 65%.
- Keep the environment clean (no dust, hair, etc.).
- Provide a stable power supply.
- Important: Incorrect installation or use may void the warranty.
- Customers must refrain from disassembly without approval from Goldshell service.
Connecting the miner
- Connect the Ethernet cable to the miner and to the router/switch.
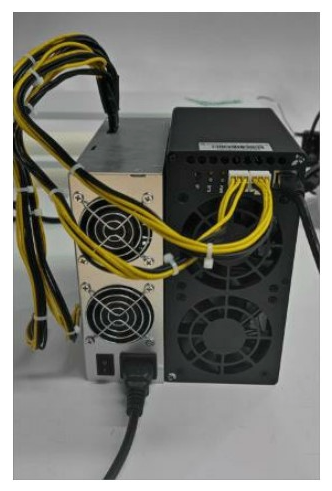
- Connect the PSU to the miner.
- If you are using the 2-in-1 cable,
- one end plugs into the miner,
- the other two into the PSU.
- If you are using the 2-in-1 cable,
- When you power the device on, the indicators first flash red and blue, after which only a steady blue light remains → this shows that startup was successful.
- If the lights look unusual, check the section on interpreting the indicators.
Finding the IP and accessing the control panel
There are several ways to get the miner’s IP address:
- find.goldshell.com in a browser (make sure your device is on the same network).
- The Yotta BC software – a dedicated management tool.
- The Goldshell Zone app.
- Goldshell Hub (another official tool).
Once you have the IP address, enter it in a browser to open the miner’s dashboard (control panel).
Miner settings
Languages:
- You can switch between Chinese and English in the interface.
Unlocking:
- Click “Unlock” and enter the password.
- The default initial password is 123456789.
Changing the password:
- After unlocking, go to System → Change Password and enter the current and the new password, then confirm with “Change”.
Network settings:
- The default is DHCP (automatic IP).
- You can turn DHCP off and set IP addresses manually to suit your needs.
Adding a mining pool:
- Open Miner → Pool settings → ADD and enter the pool’s parameters (DxPool, for example).
- Enter the pool URL, the worker name and the password.
Description of the data in the Dashboard
The home page of the interface (Home) shows:
- Mining status, hashrate, temperature and more.
- Sections for temperature, hashrate, accepted and rejected shares, as well as uptime.